Solidworks configurations allow designers to maintain the different version of part and assembly in a single document. Three method for creating configurations:
Manually
Using configuration table
Design table
The fact is that capability is already available in SOLIDWORKS. In this article, we will see, how to use the configuration publisher to create the configuration. Once completing the assembly or model, this allows us to select the configuration we assemble using the same model attributes.To work with configuration Publisher, Microsoft Excel must be installed on our system.
The follow the below steps in making the configuration Publisher. After creating desired configuration in part model, right click on the component name in configuration manger and select the configuration Publisher as shown below.
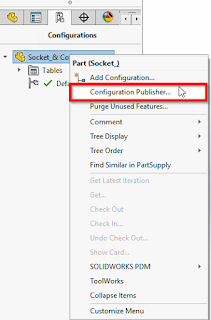 |
| CONFIGURATION PUBLISHER |
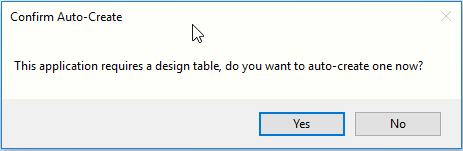
When we click the Configuration Publisher, the below Pop-up will be shown. If you didn't create a design table, the Configuration Publisher will auto-create the design table. Click "Yes" to confirm auto create windows as shown below.
 |
| CREATING DESIGN TABLE |
The configuration Publisher box will pop-up, showing the different properties that can be used to filter through the configurations. That can be dimensions, materials,suppression states & control the attributes, etc.
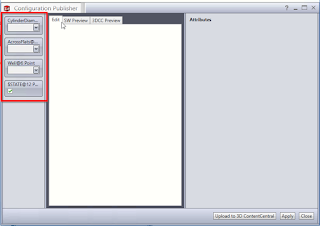 |
| CONFIGURATION PUBLISHER-ATTRIBUTES CONTROL |
You can drag these controls from the left of the configuration publisher panel to middle edit tab, while the edit tab is selected. The process is the same for the Property Tab Builder
 |
| APPLY THE CHANGES |
After editing is completed, the SW Preview tab will allow the user to view how the Configuration Publisher will display when initiated. When satisfied with the results, make sure to click for Apply for the changes.
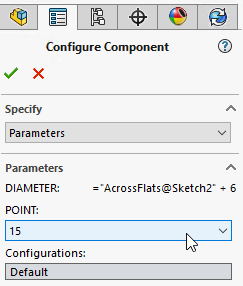 |
| PARAMETRES |
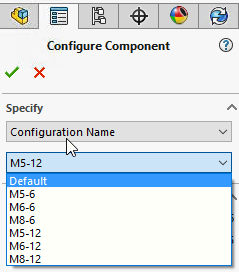 |
| DIFFERENT CONFIGURATION NAME |
The configuration can still be chosen directly, if desired. When the part/assembly is inserted, the configuration can be chosen from the dropdown bar instead of sorting by properties as shown above.
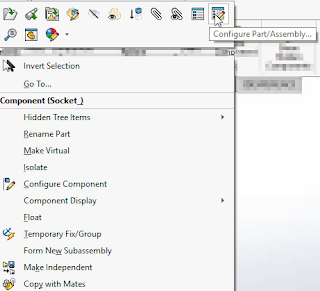 |
| CONFIGURE PART OR ASSEMBLY |
As the parameters are chosen, the part is updated in the graphics area. It helps the user have a visual of which part is being selected before it is chosen. If the chosen configuration needs to be changed and the user can utilize the Configuration Publisher to choose it. For that,right click on Part or Assembly to the Feature manager design tree and then choose configuration part or assembly from the in-context toolbar as shown in the above image.
BENEFITS OF CONFIGURATION PUBLISHER:
Create configurations and share them by automatically uploading your designs to 3D Content Central.It reduces the extra time needed to identify the proper configuration
You can easily edit the parameters of a part/assembly using excel.
STAY TUNED FOR ANOTHER BLOG